Car Prep Done Right: Decontamination, Clay Bar, and Why Every Great Finish Starts Before the Polish
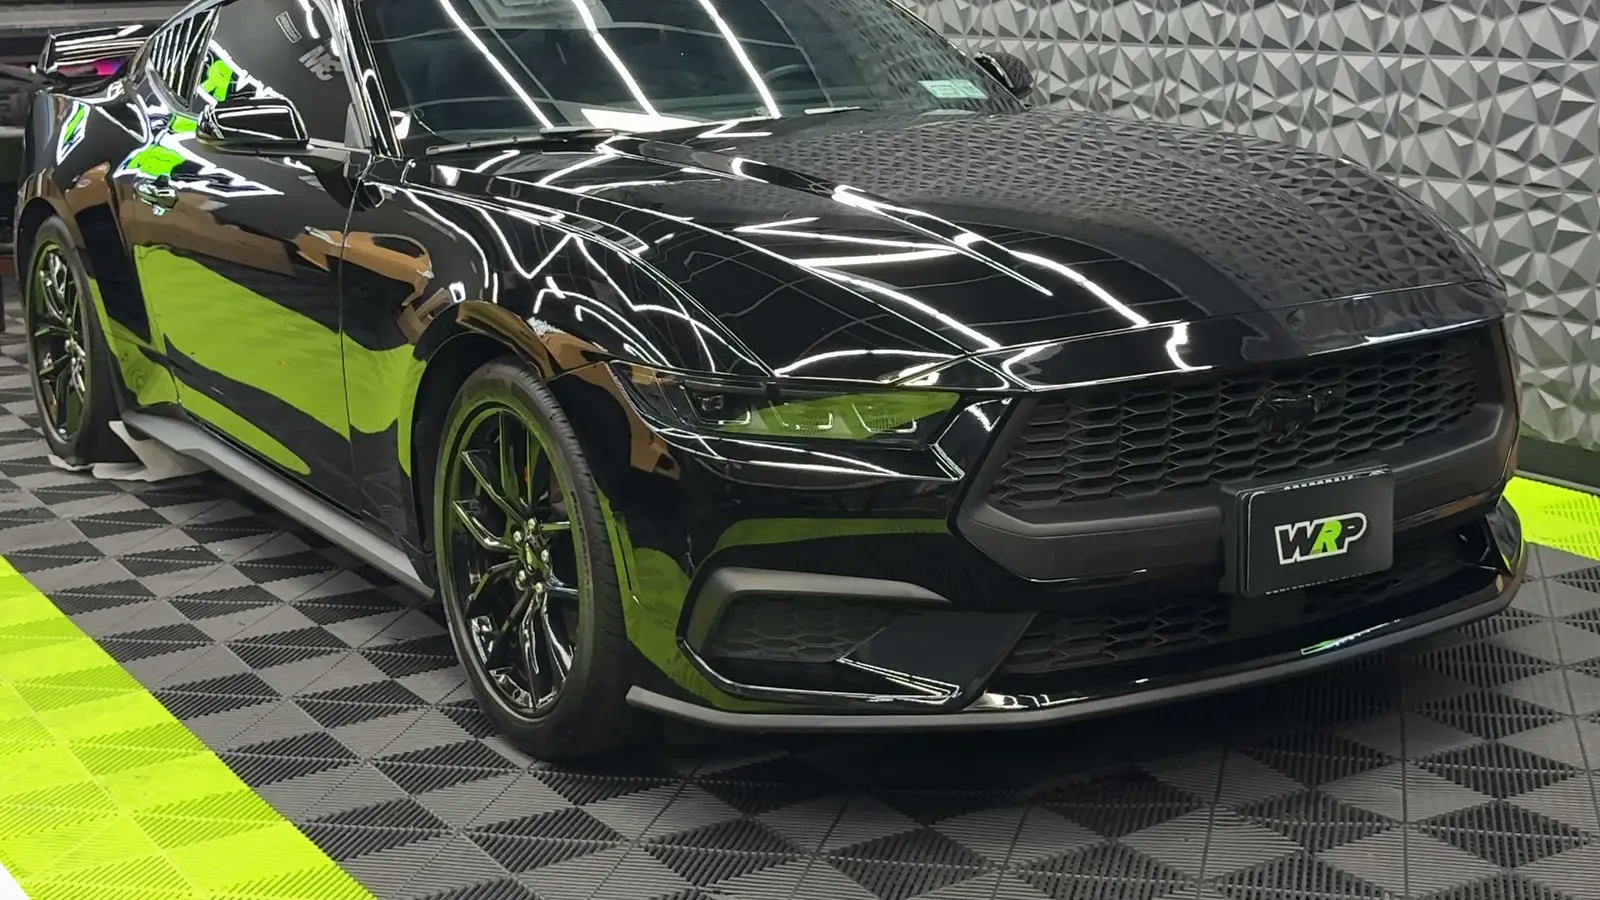
Every impressive result we deliver — the mirror-black Mustang, the glass-deep ceramic finish, an invisible PPF edge — is decided before the "real" work starts. Prep is the least glamorous stage in detailing and the most important. This is the actual professional process, step by step, and the reasons behind each one.
Why Prep Decides Everything
Paint that "looks clean" almost never is. Months of driving embed the surface with bonded contamination: iron particles from brake dust and rail lines, industrial fallout, tree sap, tar, and paint overspray. You can't wash these off — they're chemically or physically bonded into the clear coat.
Now consider what goes on top. Polish over grit and you're grinding contamination across the paint. Coat over it and you've sealed it in — coatings amplify what's underneath, flaws included. Wrap or film over it and every particle becomes a visible bump under vinyl, and a failure point for adhesion. There is no product good enough to fix bad prep.
Stage 1: The Pre-Wash and Contact Wash
Professional washing isn't about soap brand; it's about not inflicting damage while cleaning. Most swirl marks people pay us to polish out were installed by bad washing.
- Pre-rinse / snow foam: loosen and float away the heavy grit before anything touches the paint.
- Two-bucket contact wash: wash mitt, one bucket of suds, one rinse bucket with grit guards - so the dirt you just removed never goes back onto the panel.
- Top-down order: lower panels are the dirtiest; they get touched last with their own mitt.
- Wheels and arches first, separate tools: the most contaminated zone on the car never shares equipment with paint.
Stage 2: Chemical Decontamination
After washing, the bonded stuff remains. Chemistry comes first because it removes contamination without touching the paint:
- Iron remover: sprayed on, it reacts with ferrous particles and turns purple as it dissolves them - dramatic on light cars, and everywhere in a city built on brake dust and subway steel. This is embedded rail and brake iron leaving your clear coat.
- Tar and adhesive remover: solvent that softens road tar dots along rockers and behind wheels so they wipe away instead of getting dragged.
Stage 3: Clay Bar - Mechanical Decontamination
Whatever chemistry leaves behind, clay shears off. A clay bar (or clay mitt) glided over lubricated paint grabs bonded particles that stand proud of the surface and pulls them out. The transformation is tactile: paint goes from faint-sandpaper to glass-smooth — the finish you can hear change as the clay stops catching.
Try the baggie test on your own car: hand inside a thin plastic bag, glide it over clean dry paint. Gritty = contaminated. Glass = ready for correction or coating.
Two honest notes: clay is mildly abrasive — it can leave light marring, which is one more reason it precedes polishing rather than follows it; and clay is a when-needed process, not a ritual. Over-claying removes clear coat life for no benefit.
Stage 4: Only Now - Correction, Coating, Film, or Wrap
With the surface genuinely clean and smooth, the real work can succeed:
- Paint correction polishes actual paint, not contamination - cutting swirls and oxidation to restore true gloss.
- Ceramic coating bonds directly to clear coat and cures evenly - locking in a finish worth locking in.
- PPF lays flat with edges that stay down, over paint that deserves preserving.
- Vinyl wrap adheres uniformly with no bumps telegraphing through the film.
The NYC Factor
City cars carry a heavier load than most: brake dust from stop-and-go traffic, iron from subway grates and rail proximity, winter salt residue, construction fallout, and street-tree sap. A New York daily driver typically needs decontamination more — and benefits from protection more — than the same car parked in a suburban garage. It's why every protection install at WRP starts with this process, not with the film box.
DIY or Professional?
The wash and even a careful clay session are absolutely DIY-able with patience and the right materials. Where professional prep earns its keep: paint inspection under proper lighting, knowing when clay is enough versus when correction is needed, and prepping for an install where the tolerance for leftover contamination is zero. If the next step is a coating, film, or wrap, the prep is part of our job — book it as one process, because that's what it is.
Frequently Asked Questions
How do I know if my paint needs decontamination?
The baggie test: put your hand in a thin plastic bag and glide it over clean, dry paint. If it feels gritty like fine sandpaper instead of glass, there's bonded contamination that washing can't remove - iron particles, fallout, overspray.
How often should a car be clayed?
For a daily driver in NYC, once or twice a year is typical - always before any coating, wrap, or film install, and whenever the baggie test feels rough. Clay removes a microscopic layer of contamination, so it's a when-needed process, not a monthly one.
Can I skip decontamination if the car looks clean?
Looking clean and being clean are different things. Bonded iron and industrial fallout are often invisible until they bloom into rust specks. Any film, coating, or wrap applied over them seals the contamination against your paint.
What's the difference between chemical and mechanical decontamination?
Chemical decon dissolves what's bonded to the paint - iron removers turn ferrous particles purple as they dissolve; tar removers soften road tar. Mechanical decon (clay bar or clay mitt) physically shears off what chemicals leave behind. Professional prep uses both, in that order.